A good day for donuts

gluten free vegan donuts

My ultimate zen is a Songza playlist of the “sunshine indie” variety and a mid-morning baking session, which is also when the natural light is best for capturing photographs along the way.

Luckily, I never face a shortage of baked goods I want to try for the first or fortieth time. Ever since I tried Babycakes’ unbelievable gluten-free, soy-free, vegan donuts in New York, I have had a major craving. And is it just me or is there an unusually high number of donut recipes floating around Pinterest lately?

So this Saturday I took a short, relaxing break from what is shaping up to be a jam-packed January to try out this recipe I found from Bubble Girl Bakes.

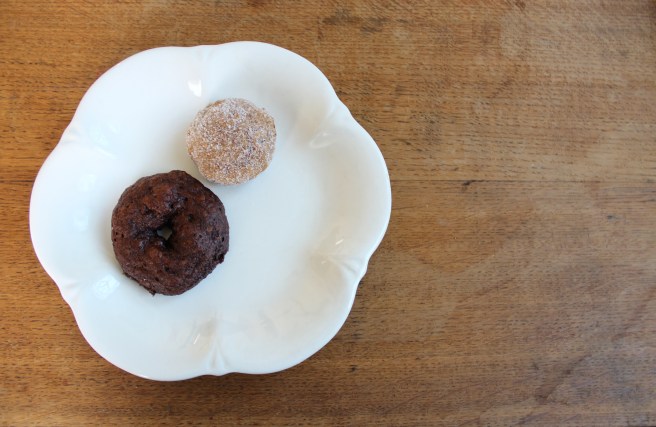
The perfect playlist blasted, the sunlight hit just right and these guys turned out delicious. It’s been a good day.

gingerbread cake donut holes - gf vegan

Here’s her recipe, with my notes in parentheses.

Ingredients:

3 tablespoons flaxseed, finely ground
½ cup warm water
¼ cup light extra virgin olive oil
¼ cup maple syrup (All I had on hand was the corn syrup variety…)
¼ cup molasses (I happened to have some gingerbread flavored syrup I used in its place)
1 teaspoon vanilla extract
1 cup + 2 tablespoons bg bakes gluten free all-purpose flour mix (I used a store-bought GF flour mix)
1 teaspoon ground ginger
½ teaspoon cinnamon
½ teaspoon nutmeg
½ teaspoon cloves
½ teaspoon sea salt
½ teaspoon baking soda

1. Whisk the flaxseed and water well; let sit for minimum of 5 minutes.
2. Mix all liquids including flaxseed mixture on high.
3. Sift dry ingredients in until just combined, each in order of how listed above.
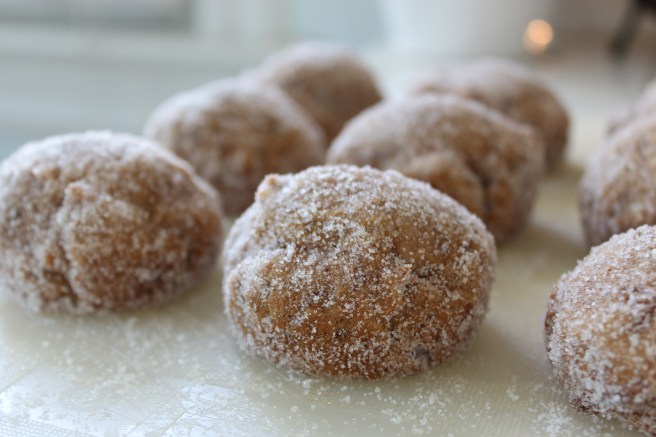
4. Pour into a greased donut pan, roll on a pan for donut holes, whatever! I put the gingerbread ones in a cupcake pan I had, then finally had the bright idea to put the chocolate batter into an icing piping bag to shape into the traditional donut shape on a pan.
5. Bake at 375 F for ten minutes or until toothpick comes out clean.
6. Enjoy!

chocolate donuts - gf and vegan

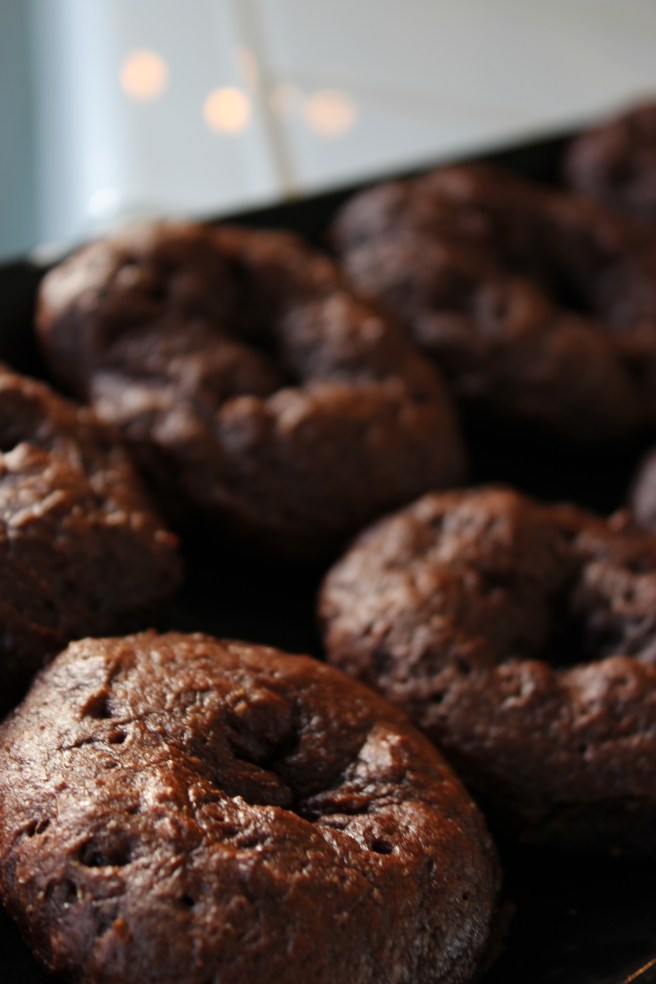
I also tried her chocolate donut recipe, which was good (although the gingerbread ones win my vote). It was actually my first flaxseed baking experience, and I have to say, it went well! The donuts came out moist and not crumbly at all, which can sometimes be a problem with gluten-free baking.

Next up, jelly donuts!

Adventures in Quinoa

gluten-free, dairy-free, mostly sugar-free apple crisp dessert recipe

Somehow my busy weekend managed to feel slow-paced, which brought some much needed de-stressing to stop my lungs from attempting to squeeze my sternum right out of my body (…too graphic?). After some sunny, windows-down drives listening to my 90’s Pop Pandora station and admiring the buildings through downtown Dallas, I settled in for another one of my favorite stress-busting activities – baking. I put in a DVD from The OC: Season 1 and got to work.

While apple crisp is commonly a fall dessert, the lemons in this recipe make this a refreshing dish. Plus the fact that it’s gluten-free, dairy-free and sugar-free (okay, so there’s maybe just a tiny bit of optional honey) make it a light treat that also happens to be relatively healthy.

healthy, vegan apple crisp dessert

Ingredients

  • 2 granny smith apples
  • 2 small lemons
  • 1 cup quinoa
  • 1 cup of water
  • 1/4 cup olive oil
  • 2 teaspoons of honey
  • 1 teaspoon of vanilla extract
  • 1/4 cup gluten-free flour (Ex: Bob’s Red Mill All-Purpose Gluten-Free Flour)
  • Cinnamon, nutmeg and salt
  • Oil spray

Quinoa

Combine rinsed quinoa with the water, vanilla, honey, one squeezed lemon juice, its lemon zest, olive oil and a dash or two of cinnamon. Bring to boil, cover and reduce to simmer. After 15-20 minutes, test-fluff the quinoa. If it’s still a little wet / clumpy, just recover, turn to low and let sit until dry. When ready, turn off stove and leave covered.

healthy dessert recipe

Prep

Very lightly coat pan with oil spray. Peel apples (I only partially peeled mine to get a little mixed texture from the apple skin). Thinly slice apples – the thinner, the easier they’ll cook through. Fill the pan halfway.

Dust with a handful of flour then with nutmeg and cinnamon to taste. Squeeze a little of the second lemon and sprinkle a pinch of salt over the apples.

Mix cooked quinoa with flour then sprinkle the mixture evenly until all apples are covered. Spray one light coat of oil over the top.

Bake

350 degrees until top is crispy and edges are starting to brown (25-35 minutes).

healthy apple crisp recipe

Enjoy!

Tax-free treats

gluten dairy free turnover recipe

Doing your own taxes is an adulthood rite of passage all must face at some point or another…unless you happen to be one of those girls whose dad does it for you until you get married, at which point your husband does it for you.

I am not one of those girls.

Entering the “Adults who do their own taxes” club is particularly celebratory because of how deeply I dread it each year. Last year I was supposed to do my own taxes, only to practically cause my phone water damage from tearfully calling my dad until he took pity on me. But this year, I vowed to confront my fear of taxes like the independent, most-of-the-time intelligent woman I am…after months of procrastination of course.

I can’t really explain my somewhat irrational fear of taxes, but it probably has something to do with the shaming from seeing my total made versus the total in my bank account, the fact that I literally don’t understand a word of IRS-speak, the frustration from not understanding, the feeling of stupidity that follows for getting so terribly lost in those forms and the pressure of sending it off to the government, who I hear could really make my life hell if I screw it up. It’s all an awful lot for a perfectionist to take.

Despite my best efforts, some tears and multiple phone calls to my boyfriend, bank and TurboTax later, I finally filed my own taxes. Now let’s just hope I did them correctly?

It’s enough to make a girl stress eat, but my allergy elimination diet (ONE more week!) has me avoiding a lot of my typical edible solutions. Fruit is pretty much my only allowed source of sweetness, so I adapted my favorite low-fat pie crust recipe to make fruit turnovers. This recipe is gluten-free, dairy-free / vegan and added sugar free, so eat, eat eat away!

Ingredients:

  • 1 1/3 cup Gluten-Free Flour (I used Bob’s Red Mill Mix)
  • 1/2 tsp salt
  • 1/2 tsp cinnamon
  • 1/3 cup oil
  • 3 tablespoons non-dairy milk (I used flax milk)
  • 1 tsp vanilla
  • Fruit of your choice (I used peaches, strawberries and blackberries)

Directions:

gluten dairy free turnover recipe

  • Slice your desired fruit up into small bits.
  • Mix the dry ingredients in a medium – large bowl.

gluten dairy free turnover recipe

  • Mix the wet ingredients in a small bowl.
  • Pour wet ingredients into dry ingredients and mix well – It should look just like pie crust dough now, so if it’s still crumbly add equal parts milk (for crisp flakiness) and oil (for soft, anti-crumbliness) until it is malleable and crumble-free.

gluten dairy free turnover recipe

  • Roll out the dough and use a small bowl to cut the bottom of the turnover out. Sometimes this dough is hard to maneuver, so I rolled mine very thin straight on the cooking pan sheet.
  • Place your fruits of choice in the center of the dough circles on the pan.

gluten dairy free turnover recipe

  • Peel the remaining dough off the pan and roll out on your counter to cut the turnover tops out with a slightly larger bowl. The tops will probably need to be rolled thicker than the bottoms and picked up with a spatula so they don’t rip.
  • Seal with a fork pressed around the edges, then cook at 350 degrees Fahrenheit for about 20 minutes. You may want to bake them for an additional 5 minutes at 425 or 450 for extra crispness (I did). 

gluten dairy free turnover recipe

Enjoy your basically healthy treats and cheers to ten months of no taxes!

Starting from scratch

fresh vegetables - quinoa saladcooking quinoaquinoa salad recipe  

My on-again, off-again relationship with my kitchen has been going steady for years, but my new gluten, dairy, and heck, everything free diet has forced me to spend much more quality time with my pots and pans as of late. 

I mean, I’ve always like the idea of cooking. But it just takes so long, ingredients can get a little pricey when you’re just cooking for one and it seems like an awful lot of effort to start from scratch after fighting traffic home from a long day at work. I knew if this month-long commitment for a healthier me was going to be successful, I was going to need a plan.

For the first week or so, I spent an afternoon making a huge bowl of white rice and grilling chicken kebabs with different seasonings so I could easily grab a perfectly-portioned meal whenever I was hungry or frantically trying to get out the door for work. Some vegetables helped liven up the rice every day, and I treated myself to the most adorable sectioned container to pack everything in. Luckily, my three years of work at an Asian restaurant also prepared me to not only eat, but enjoy rice for meals on end.

But nobody can eat rice 24/7, so this week I’m venturing into all the possibilities of quinoa. My experience with this grain can be summed up by the embarrassing fact I was walking around pronouncing it “Kwin-oh-uh” for far too long than I care to admit…My mind was blown to learn this is the exact same food as that grain everyone pronounces “Keen-whah”. Who knew?! Well, probably you did, but there you go.

I cooked this quinoa substituting half the water with chicken stock, then added basil, cucumbers, grape halves and a little olive oil, salt and pepper to taste. Quinoa cooks just like rice, and I can’t stress enough to make sure you don’t add too much liquid. My first batch of quinoa came out a little lot on the wet side, which is not nearly as appetizing as the dryer, store-bought quinoa I’ve had before. I’d also advise drizzling the olive oil on top just before serving/eating, rather then mixing it in advance. Not only does this keep the salad from getting too moist, but it looks nice on the plate, too!